From initial setup to translation
Initial setup is required when you turn on the device for the first time.
First, turn on the device and get started translating.
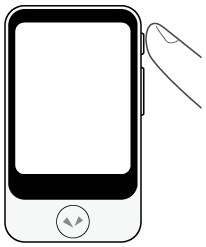
Turn on the device.
Press and hold the power button on the side of the device.
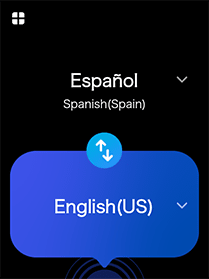
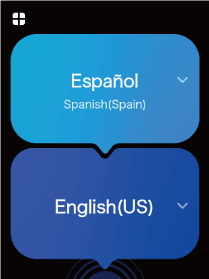
Select the display language.
Select the language to be displayed on the device's screen and tap [OK].
After tapping [OK], global communication will be activated.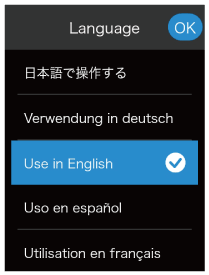
NOTE
Explanations are displayed on the screen in the language selected here.
Confirm the mobile network status.
Confirm that the device is connected, and then tap [Next].
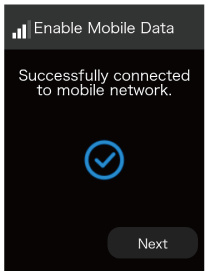
NOTE
If the communication status is unstable, the mobile connection may fail. In that case, please try again in a location with better signal conditions.
Configure Wi-Fi (optional).
If you do not want to configure it now, tap [OK].
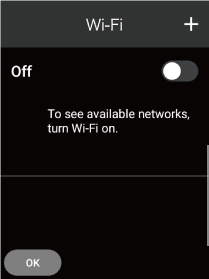
To configure it, set [Wi-Fi] to [On], tap the name of the network you want to connect to and input the password.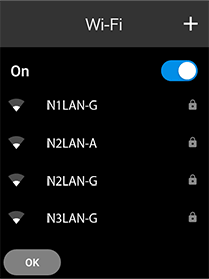
Confirm that the Wi-Fi is connected, and then tap [OK].
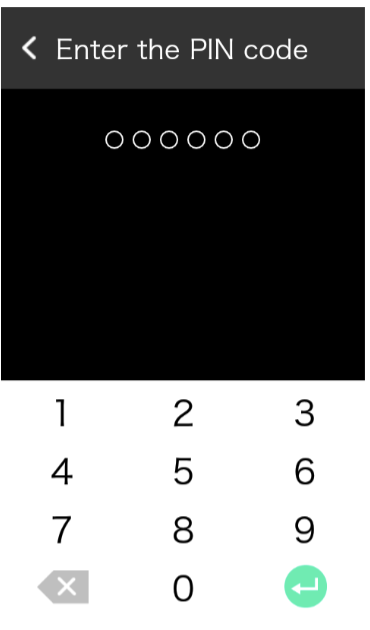
From here, follow the on-screen instructions.Set a PIN code.
To ensure complete protection, you need to set a PIN code during setup from the setting menu.
By following the steps in [Using the lock screen], you need to enter the same 6-digit number twice to complete the PIN code setup.
And you’re done!
When you are finished with the initial setup, refer to “Usage” and try translating!
- When [Translation direction correction] is [OFF]
 (Japan domestic model)
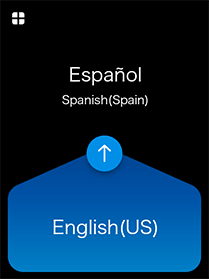 (Global model)
- When [Translation direction correction] is [ON]
NOTE
- After setup, the home screen will differ depending on whether [Translation direction correction] is turned on or off (Japan domestic model only). The default setting is [OFF]. To change settings, refer to “Automatic correction of the translation direction”.
- To translate, the device must be connected to the internet through a mobile network or Wi-Fi.
- To update the software to the latest version, the device must be connected through Wi-Fi.